Mount Temple Scramble
View Photos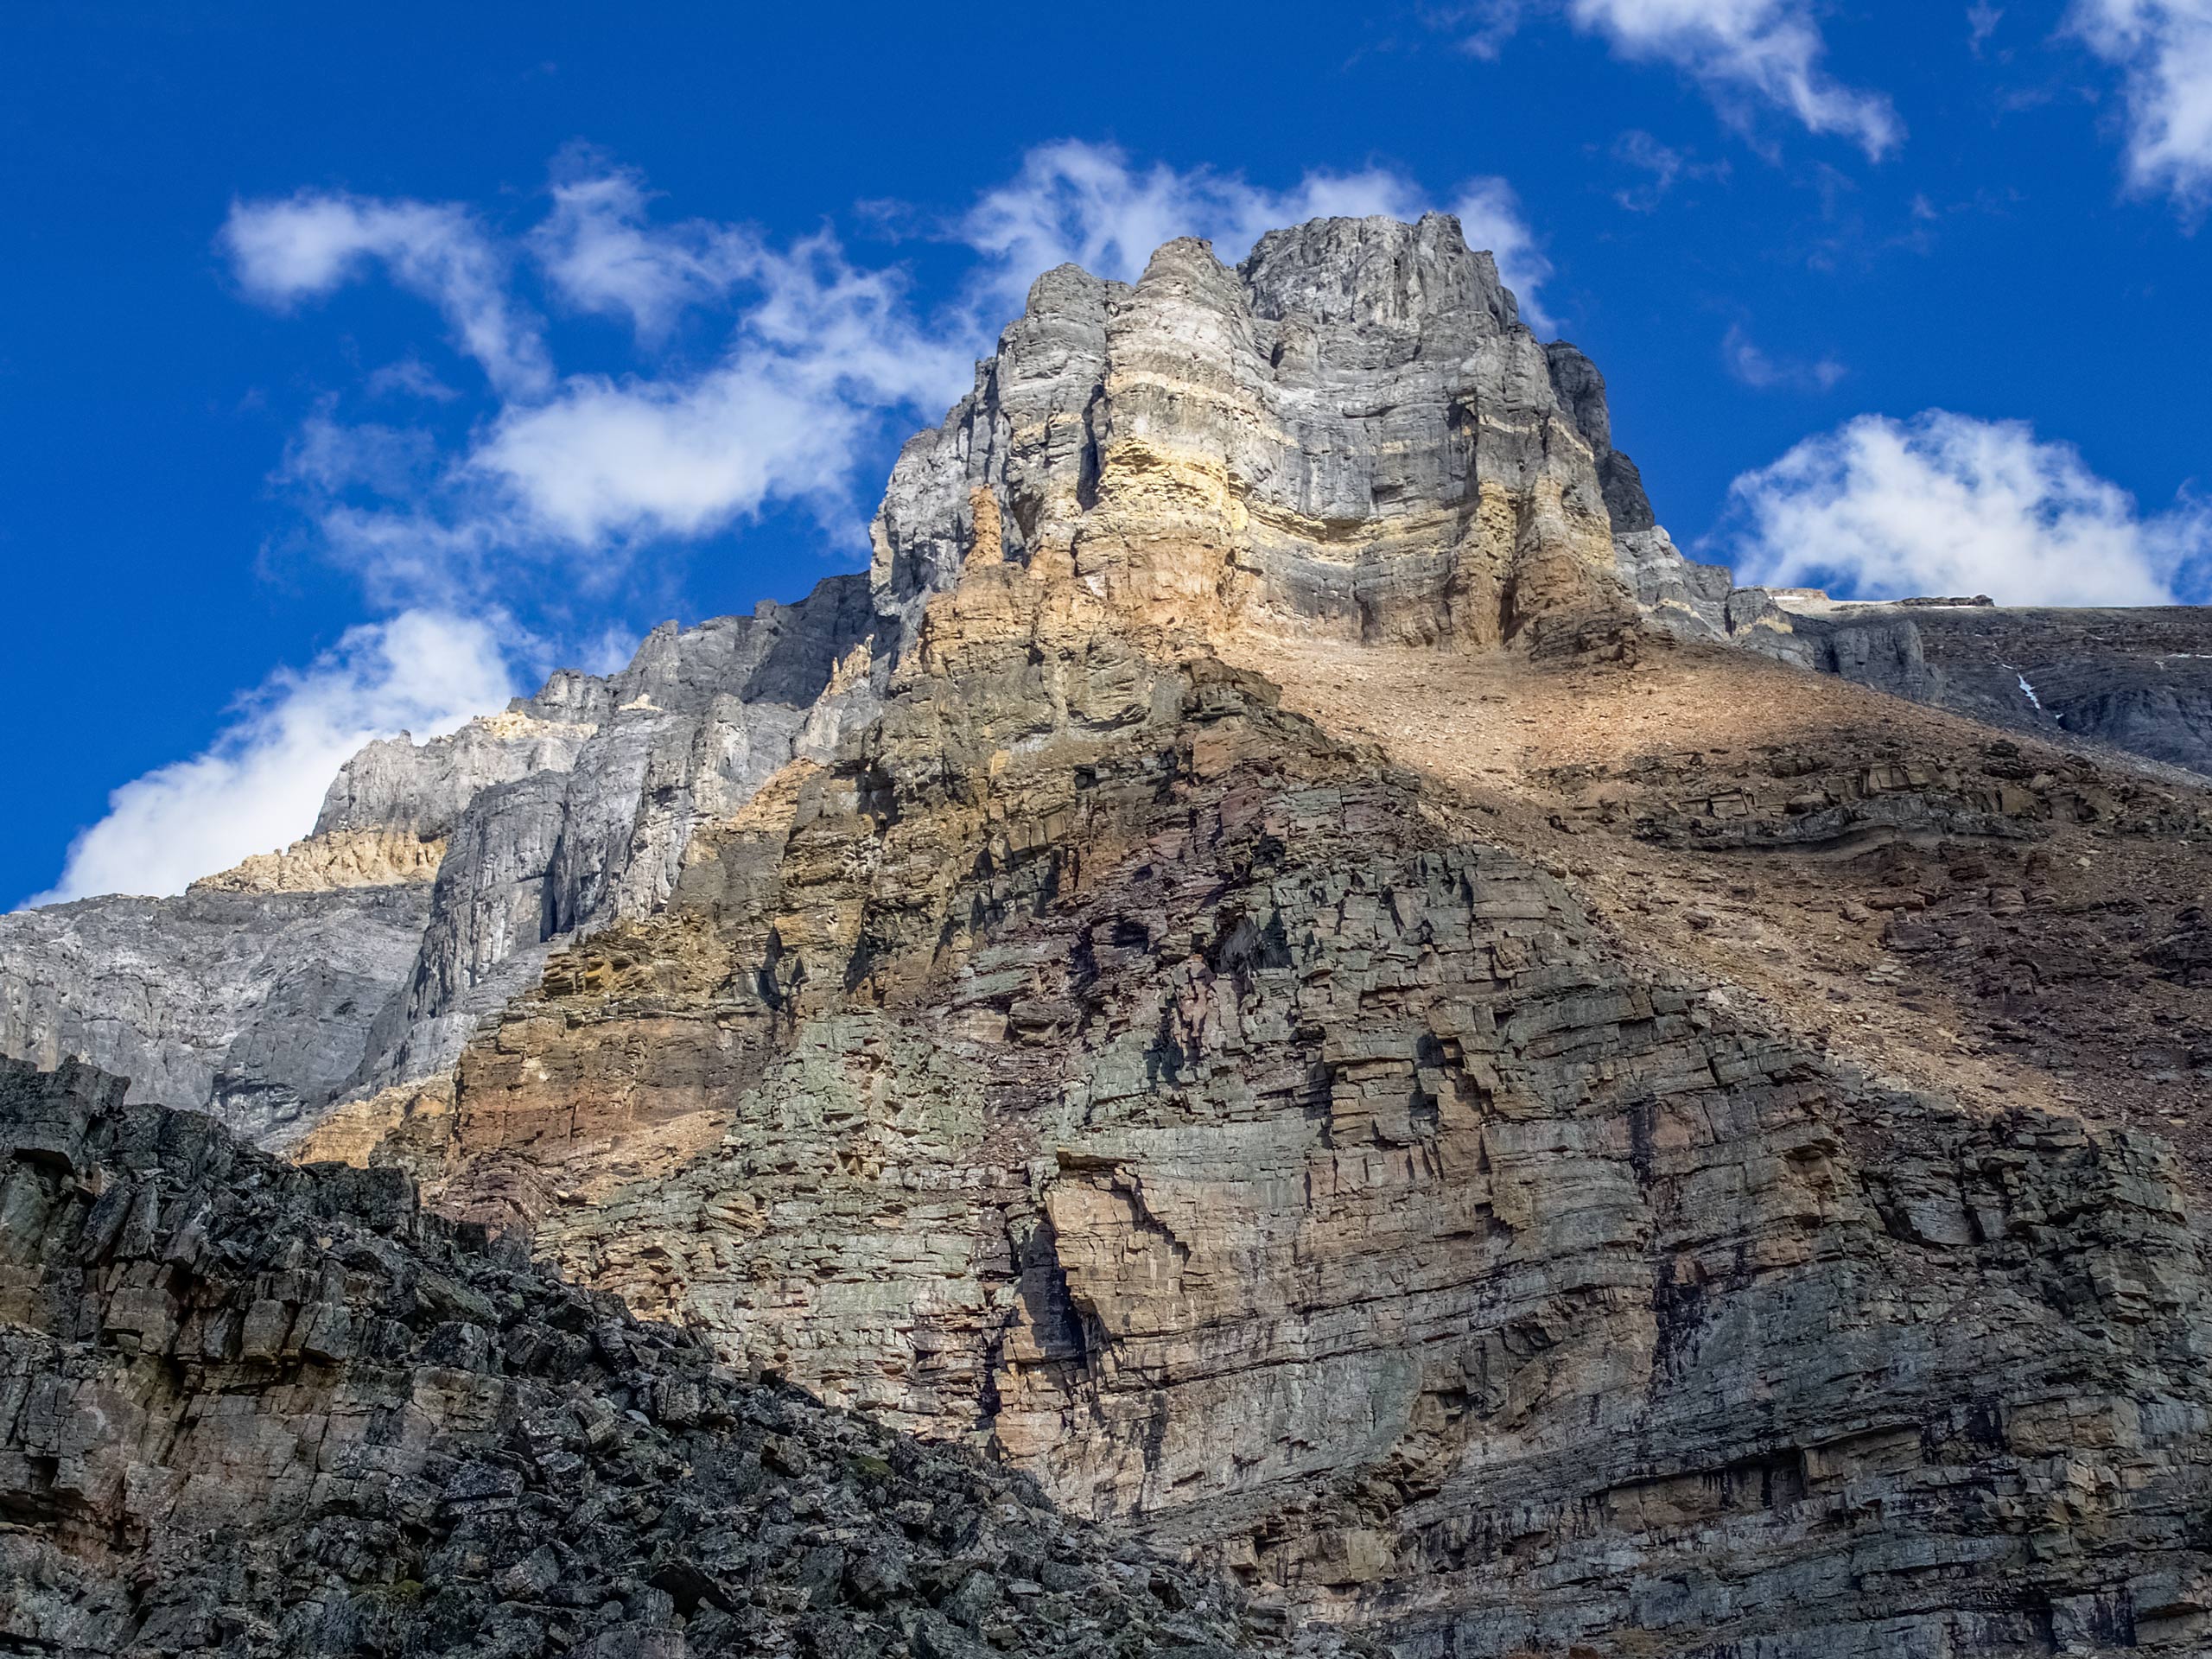
Mount Temple Scramble
Difficulty Rating:
This challenging scramble begins at the famous Moraine Lake and ascends one of the tallest peaks in the Canadian Rockies. You’ll need to be prepared and know the route well before attempting Mount Temple, as you’ll find yourself slogging up scree, scrambling rock bands, and possibly coming in close range of cornices. It sounds intimidating, but the effort is rewarded! The trail gains elevation from Moraine Lake through Larch Valley and Sentinel Pass—two remarkable hikes—before becoming more technical towards the summit. You’ll surmount a great deal of elevation gain, leaving you feeling like you’re on top of the world. Glaciers, lakes, and surrounding peaks come into view, leaving those who take on this challenge feeling extremely rewarded.
Getting there
To begin the Mount Temple scramble, you’ll need to get to Moraine Lake. Head towards Lake Louise village from the Trans-Canada Highway and continue straight through two sets of four-way stops. As you climb the hill on Lake Louise Drive, you’ll see a sign on your left for Moraine Lake. There is likely going to be some traffic control stations here because of the busy season. Follow Moraine Lake Road until you reach the parking area and lodge. Head right and follow the shoreline, where you will see a Parks Canada trail kiosk. This is where your trail begins. Due to the short window scramblers have to ascend Mount Temple, you are left with busy parking lots and road closures for the overcrowded Moraine Lake parking lot. Many people choose to visit Moraine Lake for sunrise, so beware of early closures on the road when planning your trip.
About
| Family friendly | No |
| Route Signage | Average |
| Crowd Levels | Moderate |
| Route Type | Out and back |
| When to do | July |
| Backcountry Campsites | No |
| Pets allowed | On-Leash-not recommended |
Mount Temple
Elevation Graph
Weather
Mount Temple Scramble Description
Check with Parks Canada information to get an update on road closures for the Moraine Lake area. Sometimes the parking can fill up and close the road by 4:30am. Luckily this is a long and arduous scramble, so you’ll want to leave early. Parks Canada also offers a pocket-sized scrambler’s guide to Mount Temple with photos and clear route descriptions to keep you on track. Keep in mind that once you pass the Larch Valley and Sentinel Pass areas, you are on a technical scramble route that requires helmets and route-finding. Various rock bands require some higher class scrambling that may be too difficult for some.
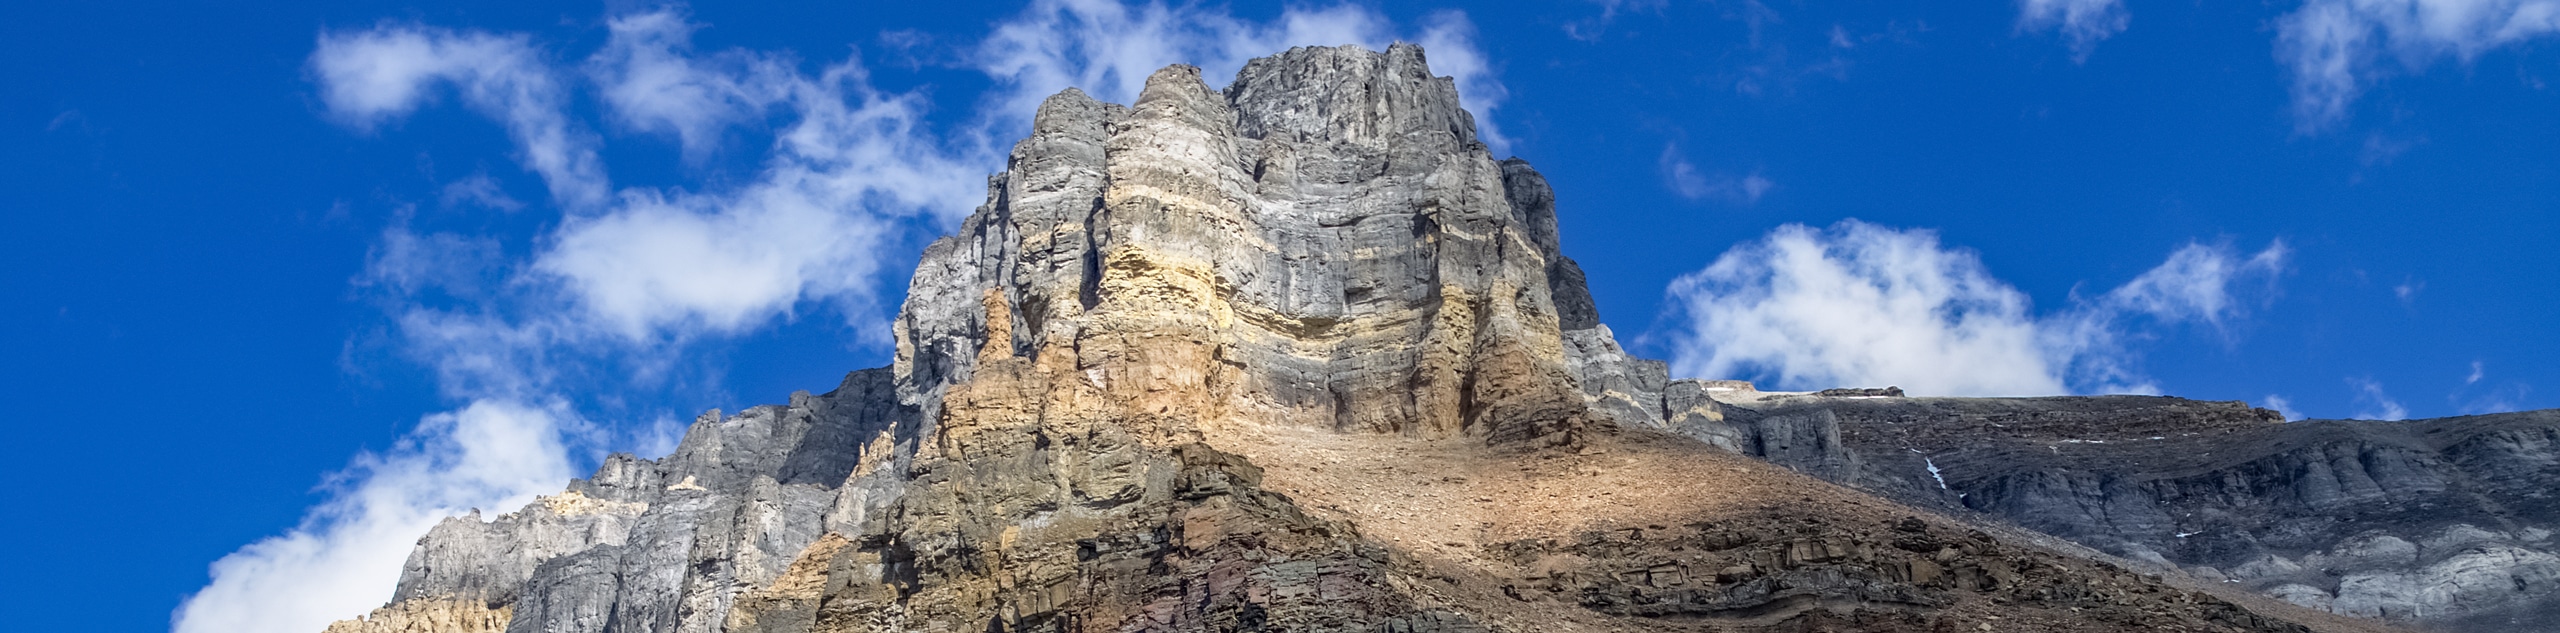
Mount Temple is categorized as a difficult scramble, which is paralleled to its status as one of the tallest peaks in the Rockies. You know what you’re in for when you plan this route, which also means you know what kind of rewards the summit provides. It is a popular bucket-list hike for many, as it should be. Scramblers tower the surrounding area from above, looking over the Valley of the Ten Peaks and Paradise Valley at the summit. It’s a must-do for scramblers looking to explore the area and take their experiences to new heights.
For those ready to tackle Mount Temple, remember to bring a helmet, lots of food and water, route guides, and any other emergency supplies you might need. It is common for scramblers to require rescue from this route, so be prepared for anything.
Starting at the trail kiosk, you’ll walk about 115ft on the shoreline before seeing a trail junction for Larch Valley. Take this trail and begin your ascent. Well-graded switchbacks will take you roughly 1148ft and 1.6mi to a trail junction. Follow signs pointing right for Larch Valley/Sentinel Pass. You won’t see Mount Temple on these signs because it is a scramble.
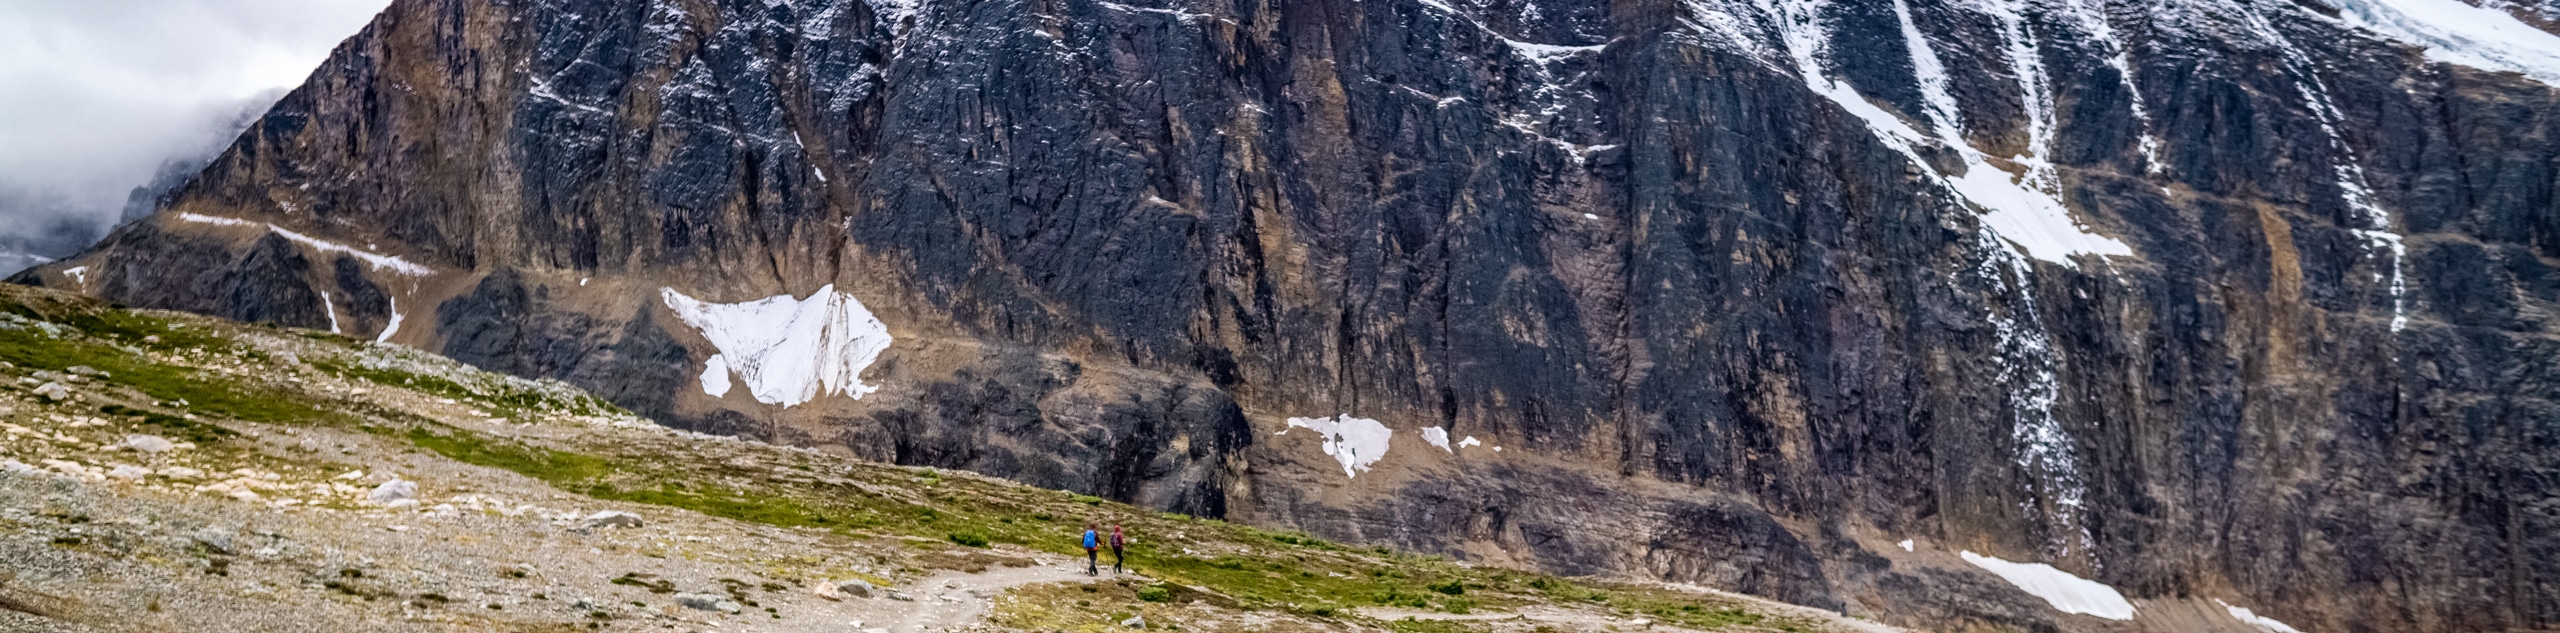
Continue through Larch Valley and follow the trail towards Sentinel Pass. You’ll be able to see the pass from the small tarns in the valley, which makes it easier to find your way. From Sentinel Pass, you can see most of the Mount Temple route. Take some time to examine the route, identifying any dangers or snow and ice that you will want to avoid. This is where scrambler’s put on their helmets.
Follow a scree path upwards from Sentinel Pass on your right. Stay to the left of the path to avoid loose rock and debris from parties above you. Staying left of the gully provides better footing. There is a diagonal path to the right with two visible scree paths below a gray rock band at the top of the gully. This is a landmark that you will need to locate.
Look for cairns along the route, following the left side of the shallow gully. Do not be tempted to follow a path leading farther to the right and passing the scree paths below. Scramble up a series of rock steps at the first gray rock band. Paths and cairns lead scramblers to the second rock band. Keep looking back to secure some visual landmarks for the descent.
At the second rock band, scramblers must traverse under two gullies close to the ridge and climb over some rock steps. This is considered the crux of the route. It requires some exposed climbing on polished holds. There is an anchor here if scramblers choose to use a rope, especially on the descent. Do not avoid this section by ascending the gully, as this exposes climbers to rockfall, which can be extremely dangerous. After surmounting the rock steps, follow a cairned path over gravel slabs, and find a light brown rock step.
Ascend the rock steps right of the ridge and continue looking back for landmarks. Stay to the side of the gully as you ascend, avoiding people above. Regain the ridge by following cairns until you can see the Mount Temple ridge before you.
Follow a scree path that switchbacks towards the summit. Beware of snow here as dangerous cornices can form, creating unstable and unpredictable ground. Stay back from the edge of the ridge. You may require crampons or microspikes here to travel to the summit.
Once you have reached the summit, enjoy the view! Congratulations on climbing the tallest peak in Banff National Park!
For the descent, retrace your steps, and visualize the landmarks you looked for on the way up. Watch for other scramblers and be careful not to dislodge rocks and boulders. Follow the path carefully; it is easy to descend a gully as a short cut and end up in a dangerous place. Once you reach Sentinel Pass, you can take off your helmet, enjoy a rest and let your legs take in the easier grade on the way down to Moraine Lake.
Trail Highlights
Moraine Lake
Starting and finishing at Moraine Lake is a major highlight of the Mount Temple scramble. Some stay for sunrise and take some photos before ascending. This is a great way to secure parking and enjoy a calm morning before a long hike. You can also choose to ascend and catch the sunrise part way up the route from Larch Valley or Sentinel Pass and rest your legs at Moraine Lake on the way down. Grab a victory snack at Moraine Lake Lodge and enjoy the views before heading home!
Insider Hints
Bring a helmet
Check parking, and arrive early
Check conditions and route descriptions before departing
Know your route, and bring extra safety gear
Plan a sunrise session at Moraine Lake before heading up
Grab a bite at Moraine Lake Lodge or Trailhead Café in the village
Similar Scrambles to the Mount Temple Scramble

Eiffel Peak
Eiffel Peak isn’t frequented by many who make their way to Moraine Lake. It is a difficult scramble with less…
Mount Edith
Mount Edith scramble begins with the unsuspecting Cory Pass hike before branching off to the right to begin gaining Mount…
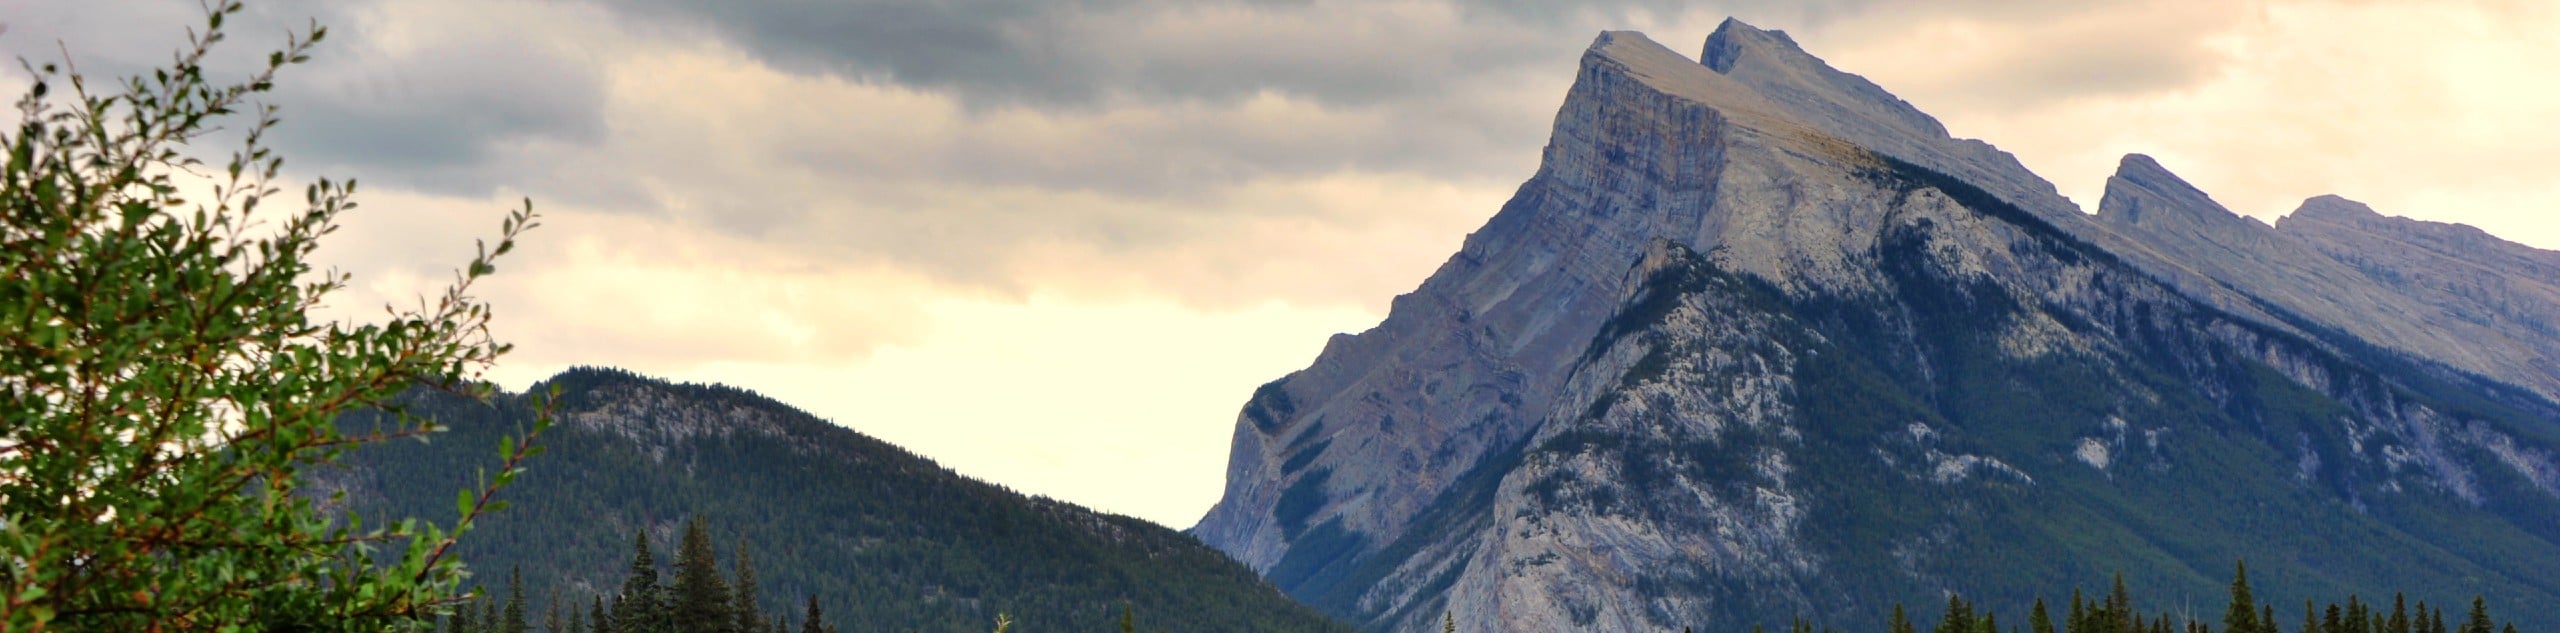
Mount Rundle
Locals stare at Mount Rundle day in and day out, enough to acquire a personal relationship with the impressive feature.…
Comments