“You need to try these boots” I was told over and over again when looking for a new set of Backcountry touring boots. After trying every stiff boot in the shop, the Salomon’s S/LAB MTN were the winner, being light, stiff, comfy and with heat-moldable shell and liners. We immediately noticed more responsive turns, especially in tighter trees, where the stiffness of the boot paid immediate dividends.
Here’s how they held up.
The Verdict
Comfortable, burly and good for getting a custom fit, the S/LAB MTN boots are excellent boots for backcountry touring. They’re stable and very stiff, relatively light, and are compatible with most frame and tech bindings. We’ve got a few reservations about them but would still recommend them as solid all-around backcountry boot, even if they aren’t the best for skinning.
As with any boots, try on a lot of pairs to see what fit your feet right. While these boots are great for us, different foot shapes may make other boots more appealing.
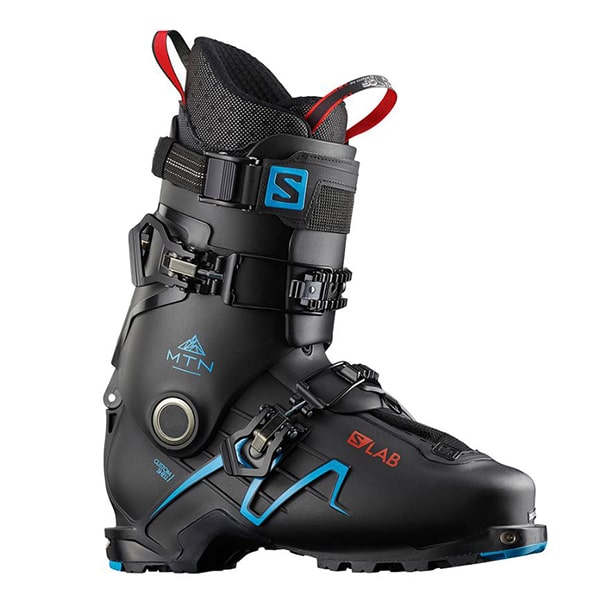
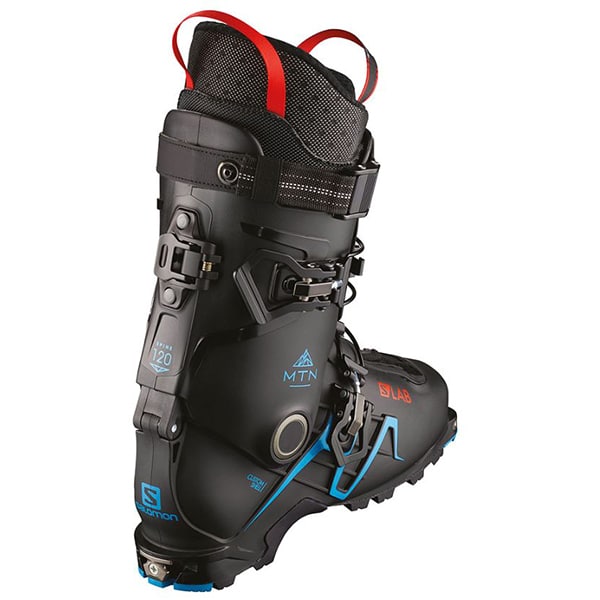
Overview
The S/LAB MTNs are the latest edition of Salomon’s Mtn Lab – the heavy-duty Alpine Touring (AT) boot they bill as having “redefined backcountry skiing and touring”. For 2019, that means a redesigned shell that’s lighter, stiffer and thermomoldable, while keeping the Mtn Lab’s lightweight, 2-buckle design that’s just prime for downhill skiing.
When to use
The S/LAB MTN’s are great for all-around ski touring. They hit a sweet spot of light and stiff. There are definitely lighter options, but they aren’t as stiff. There are also stiffer options, but they aren’t as light.
Pros
- Light. Relatively, of course. At almost 7 pounds for a pair, they’re not the lightest – but not the heaviest either.
- Stiff Downhill Performance. The S/LAB are the right combo of stiffness and responsiveness for excelling on the downhill – where they feel at home.
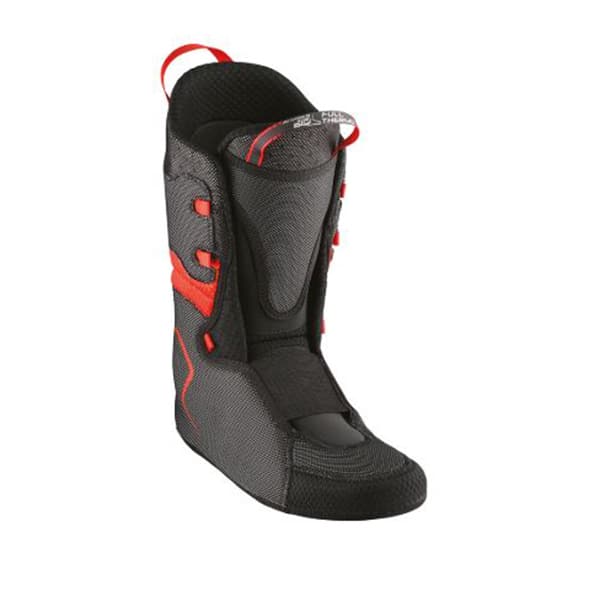
- Heat Moldable. Have trouble getting boots that fit just right? The shell and liner can be molded to a custom fit in about 10 minutes. And you might need to – because these things are narrow. Initially these boots pinched our pinky toes, so we heat molded the shell and then the liner. It took about an hour to complete both of these, but the results were appreciated for the rest of the season.
- The Buckles. It’s so nice how easy these boots are to fasten. Coming from a 4-buckle boot, this two-buckle boot was superb.
Cons
- They Pinch. Even after molding the boot and liner, there was still a pinch right on the big bone on the ankles. This pinch point was at a point where the shop recommended against trying to heat mold the boot, so instead we have a 10cm x 5cm piece of foam we put down our boots.
- Buckle for ski-mode gets ice-filled. Not a big deal, however we regularly have the buckle to switch from to ski-mode gets filled with ice and we have to mess around to get the ski-mode to engage.
Heat moldable shell and liners
Fit is important for both ride quality and comfort, so the ability to heat mold the liner and shell on these things is more than welcome. They’re quite narrow, with a 98mm last, and certainly won’t fit most larger feet right out of the box.
We suggest taking them out on a short ski to see how they feel and then coming back and getting them heat molded. While you can do the molding yourself, we suggest having the shop you bought the boots from do it. They (should) have the right tools and know what they are doing, and if they screw up should warranty their work.
The same goes for the shell, of course: it’s easily moldable and made of Grilamid, a lightweight, strong but stiff material. Salomon did away with a significant amount of shell material without compromising the build, and also reinforced it in the key areas.
Stiff, solid downhill riding
These boots are stiff, and we like that. Their flex rating of 120 puts them within spitting distance of some of their stiffest competitors, and means they’re cut out perfectly for steep downhills.
For the best downhill performance, boots should have just the right amount of stiffness in the back and just a small amount of flex in the front, creating enough responsive for snappy riding. The S/LABs nail this.
Much of their stiffness comes from the tongue, which is very thick and burly. There really isn’t much forward flex, and this is very noticeable when you’re in ski mode. As such, they are not the best for going uphill, and we found pressure on our shins going uphill. Whereas with other boots we could leave a buckle done up for uphill, with these boots we have learnt to leave them completely unbuckled for ascent.
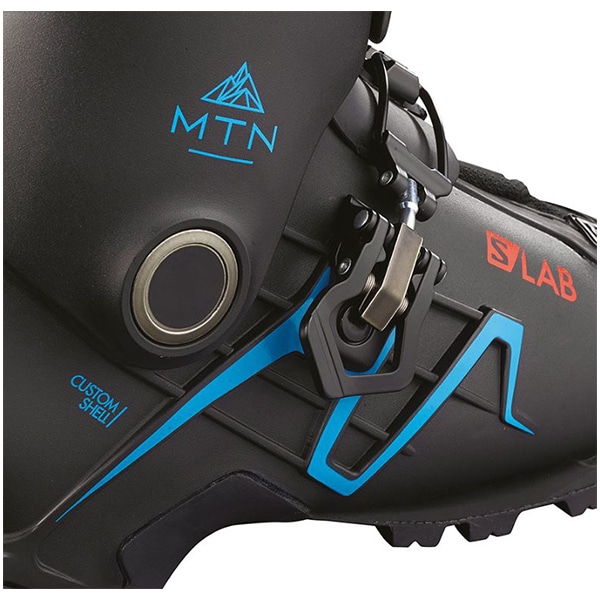
The MTN’s use a Carbon Spine with their SureLock mechanism, which allows you to switch from ascent mode to ski mode with a simple flick of the lever. That’s it. The tabs lock into place securely enough, however we found that snow could get lodged into the locking mechanism, and we’d have to fiddle with the buckle to engage ski mode.
2-buckle system
As mentioned, Salomon used two buckles on the S/LAB MTNs, paired with a 50mm dual claw strap. The system is easier to configure and tighten than others – like Velcro straps – and you can get them cinched down real tight when skiing. They are also micro-adjustable, letting you get them exactly as you want them. Putting these boots on is as easy as can be, and they are very, very secure.
We were worried about the 2-buckle system, and have heard a lot of comments that you need a 3 or 4-buckle boot. We found the 2-buckle system was great, and a big improvement over our old 4-buckle boots.
In conclusion, the Salomon S/LAB MTN AT boots have performed really well in about 20 days this winter. They are a good mixture of being both stiff and light.


Comments
Greg6 years ago
Nice review. I like how you narrow down the smallest details.
Replyjane in the rockies6 years ago
I'm jealous...how do I get a job testing gear for you?
Reply